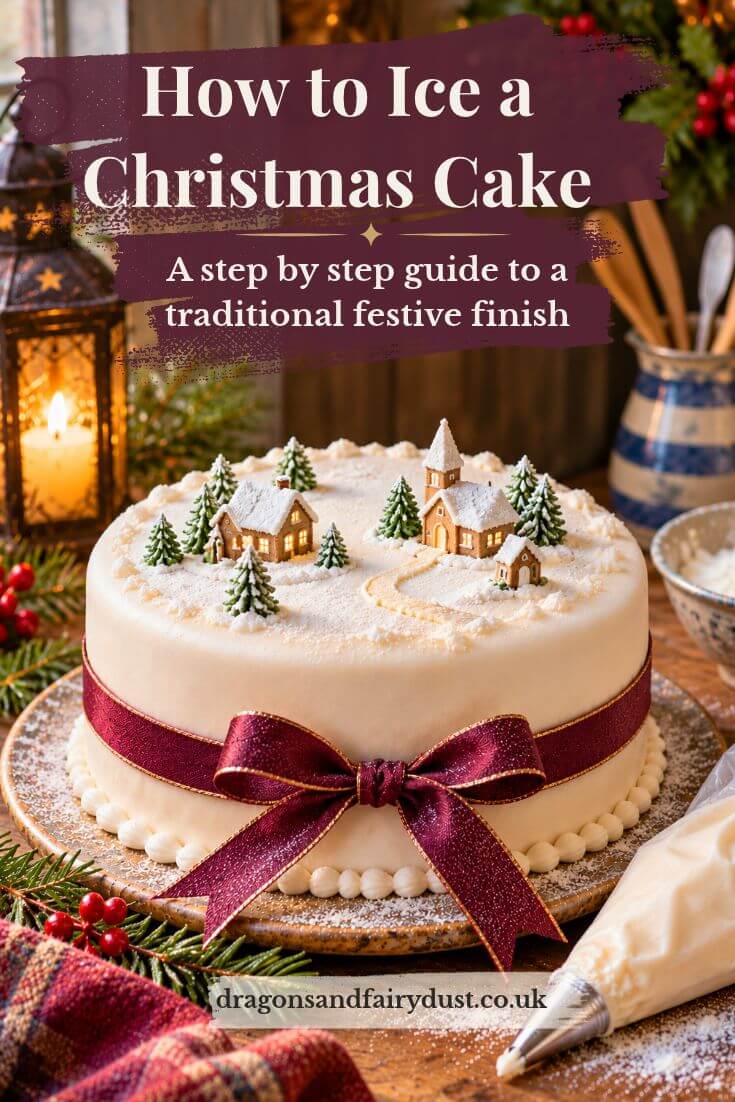
How to Marzipan and Ice a Christmas Cake
Decorating the Christmas cake is one of those little jobs that makes Christmas suddenly feel very close. Learning how to ice a Christmas cake was part of Christmas in our house when I was little.
I remember helping Mum make snowy peaks in the royal icing, then arranging the little fir trees, house and reindeer on top. Mum eventually passed those decorations on to me, and I still use them every Christmas.
Once my Christmas cake has been baked, fed and left to mature, I cover it with marzipan and a thick layer of homemade royal icing. I like the traditional snowy finish, with little ridges and peaks across the cake.
This is how I marzipan and ice my Christmas cake, using the same family method I grew up with.
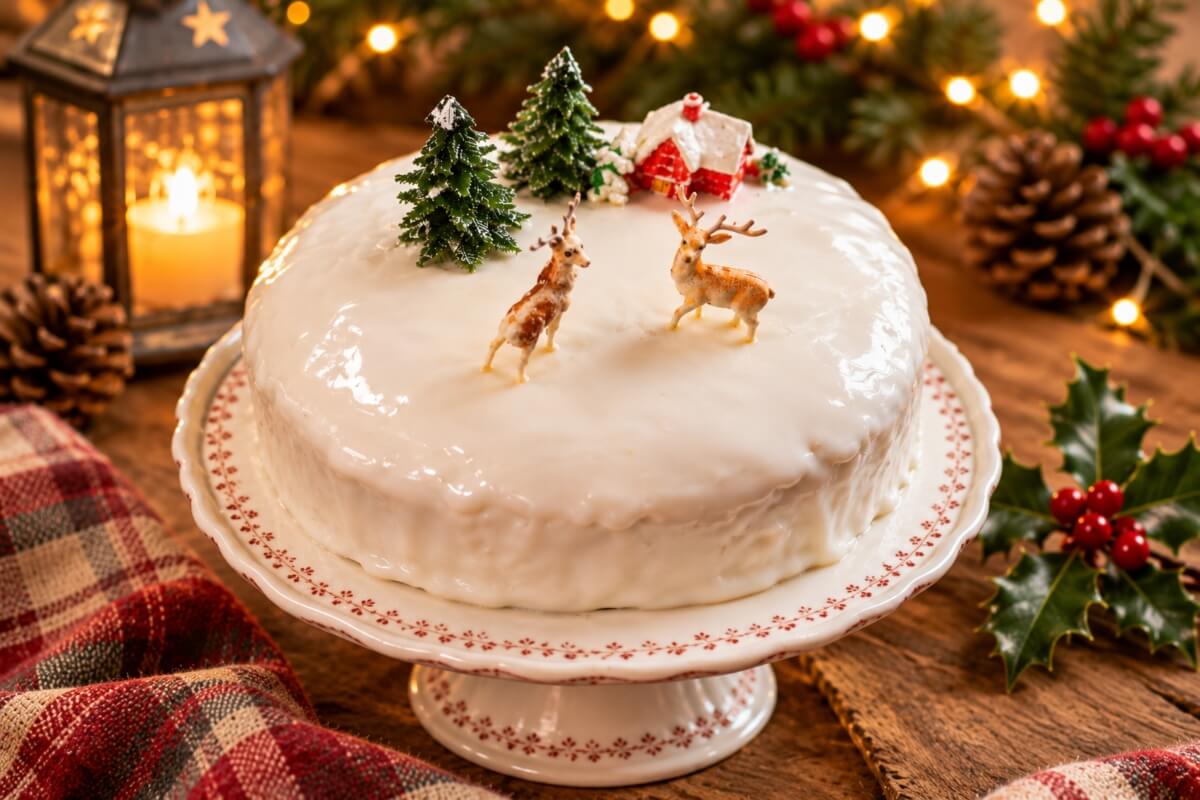
Quick Answer: How Do You Marzipan and Ice a Christmas Cake?
Brush your Christmas cake with a thin layer of warm apricot jam, then cover the top and sides with rolled marzipan. Leave the marzipan to dry before spreading thick royal icing over the cake. Use a spoon or knife to make little snowy peaks, add your Christmas decorations while the icing is still soft enough to hold them, then leave it to harden.
What You Need to Marzipan and Ice a Christmas Cake.
You don’t need anything particularly complicated to decorate a traditional Christmas cake. A layer of marzipan, a little apricot jam and homemade royal icing are the main ingredients.
The apricot jam helps the marzipan stick to the fruit cake, while the royal icing gives it that lovely snowy finish.
Equipment You’ll Need
You don’t need any specialist cake-decorating equipment for this traditional method.
- Rolling pin
- Pastry brush
- Large mixing bowl
- Spoon for mixing the royal icing
- Palette knife or ordinary table knife for spreading the icing
- Small saucepan for warming the apricot jam
- Your Christmas cake decorations
- Cake board or sturdy serving plate to support the cake while you marzipan, ice and decorate it.
Ideally, put the cake on its final board or plate before decorating, so you don’t have to move it once the royal icing has hardened.
Before You Start
Finish feeding your Christmas cake before you begin decorating it.
Take the cake out of storage and place it on a cake board or sturdy serving plate. It’s easier to do this now, before you add the marzipan and icing.
Don’t worry if your cake isn’t perfectly even. The marzipan will help create a good surface for the royal icing.
Can You Marzipan and Ice a Christmas Cake on the Same Day?
Ideally, leave the marzipan to dry for 24 to 48 hours before adding the royal icing. This helps prevent moisture and oils from the marzipan affecting the icing or causing discolouration.
I’ve done it both ways. When Christmas preparations are running behind, I’ve added marzipan and iced the cake on the same day without noticing much difference. So don’t worry if you haven’t got time to wait. After all, the cake is going to be eaten and enjoyed, even if the icing isn’t quite perfect.
How to Marzipan a Christmas Cake
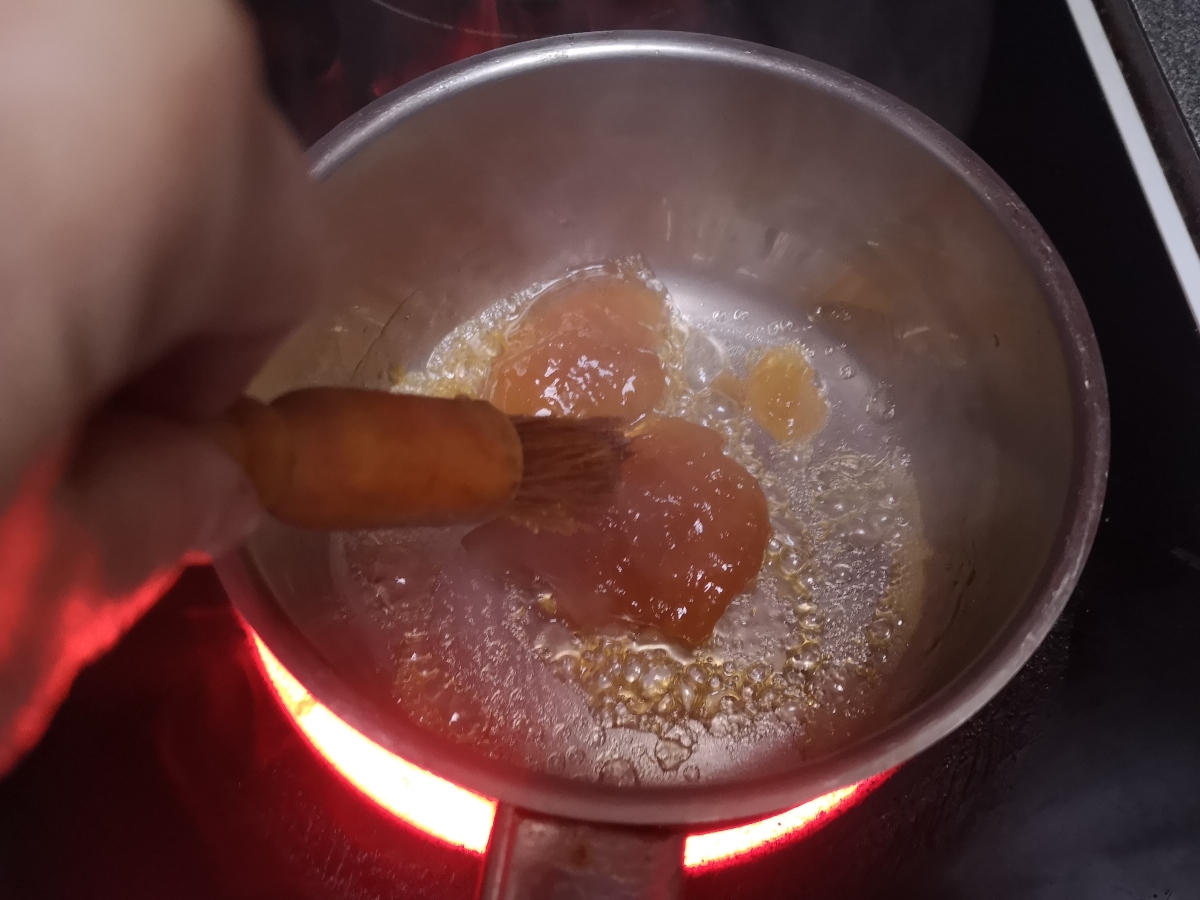
Step 1: Warm the Apricot Jam
Put about 1 tablespoon of apricot jam in a small saucepan and warm gently over a low heat until it’s runny enough to brush over the cake.
You can also warm it in a microwave-safe bowl for a few seconds at a time, stirring between bursts.
You only need a thin coating over the top and sides of the cake. Warm a little more jam if necessary.
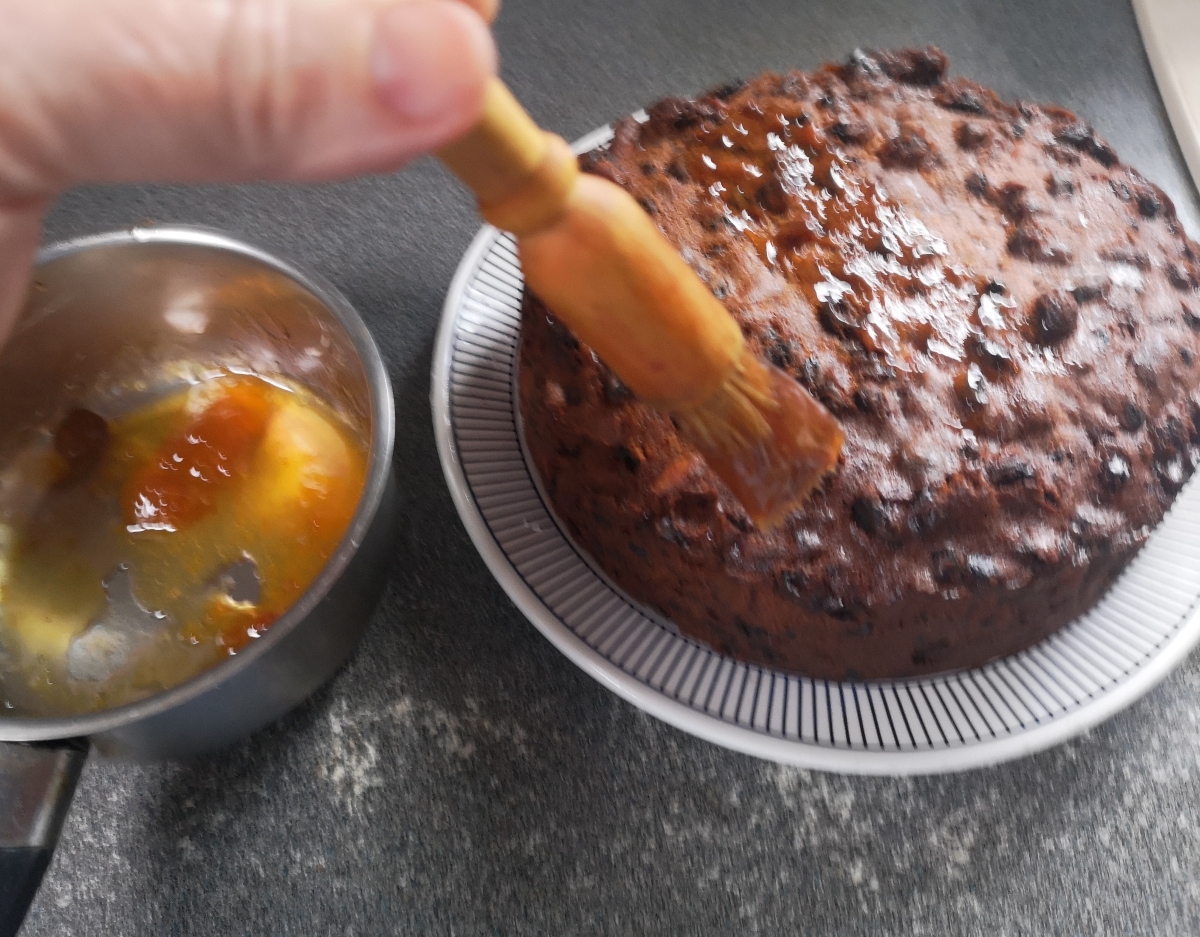
Step 2: Brush the Jam Over the Cake
Use a pastry brush to spread a thin, even layer of warm apricot jam over the top and sides of your Christmas cake.
The jam helps the marzipan stick to the cake, so make sure you’ve covered the surface without leaving thick patches.
Step 3: Roll Out the Marzipan
Lightly dust your work surface and rolling pin with icing sugar to stop the marzipan sticking.
Knead the marzipan briefly to soften it, then roll it out into a circle large enough to cover the top and sides of your Christmas cake.
Aim for an even thickness of about 5 mm.
Step 4: Cover the Cake with Marzipan
Carefully lift the rolled-out marzipan over the Christmas cake, making sure it covers the top and hangs down over the sides.
Gently smooth the marzipan over the top, then work your way down the sides, easing it into place with your hands.
Trim away the excess marzipan around the bottom of the cake to leave a neat edge.
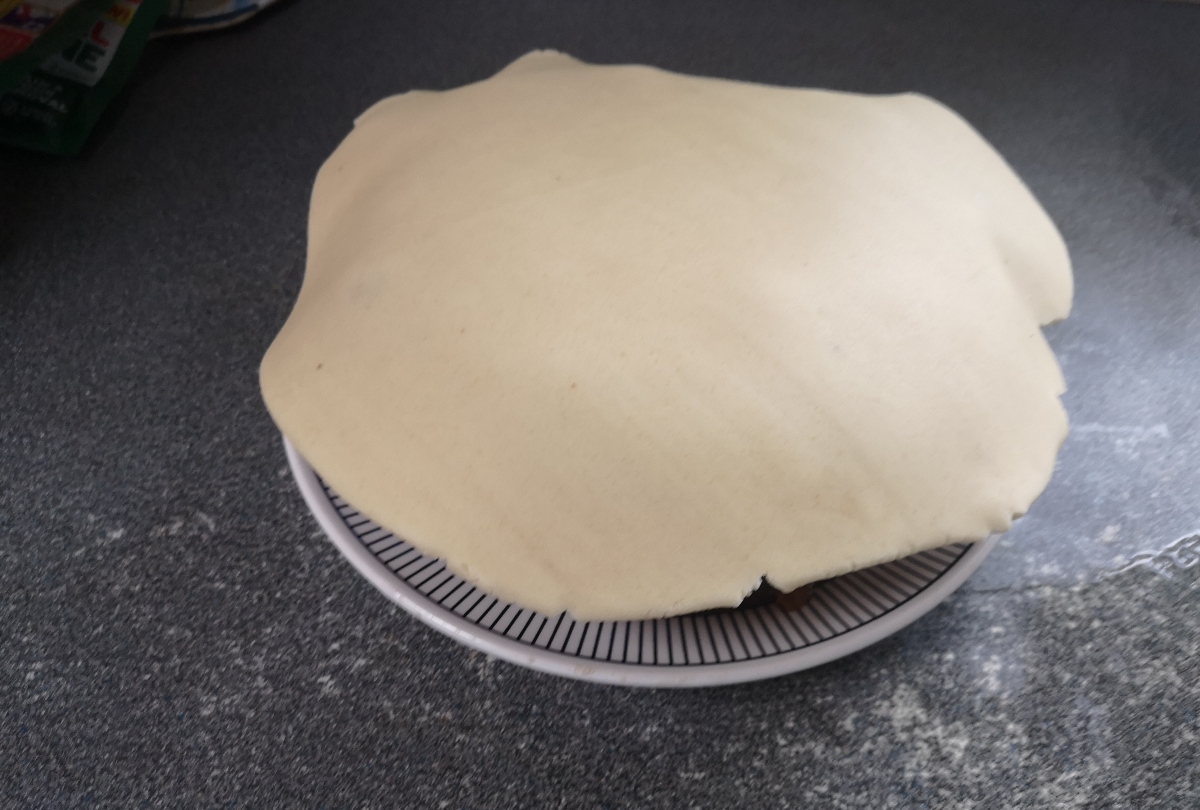

Kitchen Tip: If you find it difficult to lift the rolled-out marzipan without tearing it, loosely wrap it around your rolling pin and unroll it over the cake.
Don’t worry if the marzipan isn’t perfectly smooth. A few little bumps won’t matter, as the royal icing will cover them.
How to Make Royal Icing for a Christmas Cake
Traditional royal icing gives a Christmas cake its snowy white covering. I like mine thick enough to make little peaks and ridges, just as Mum used to do.
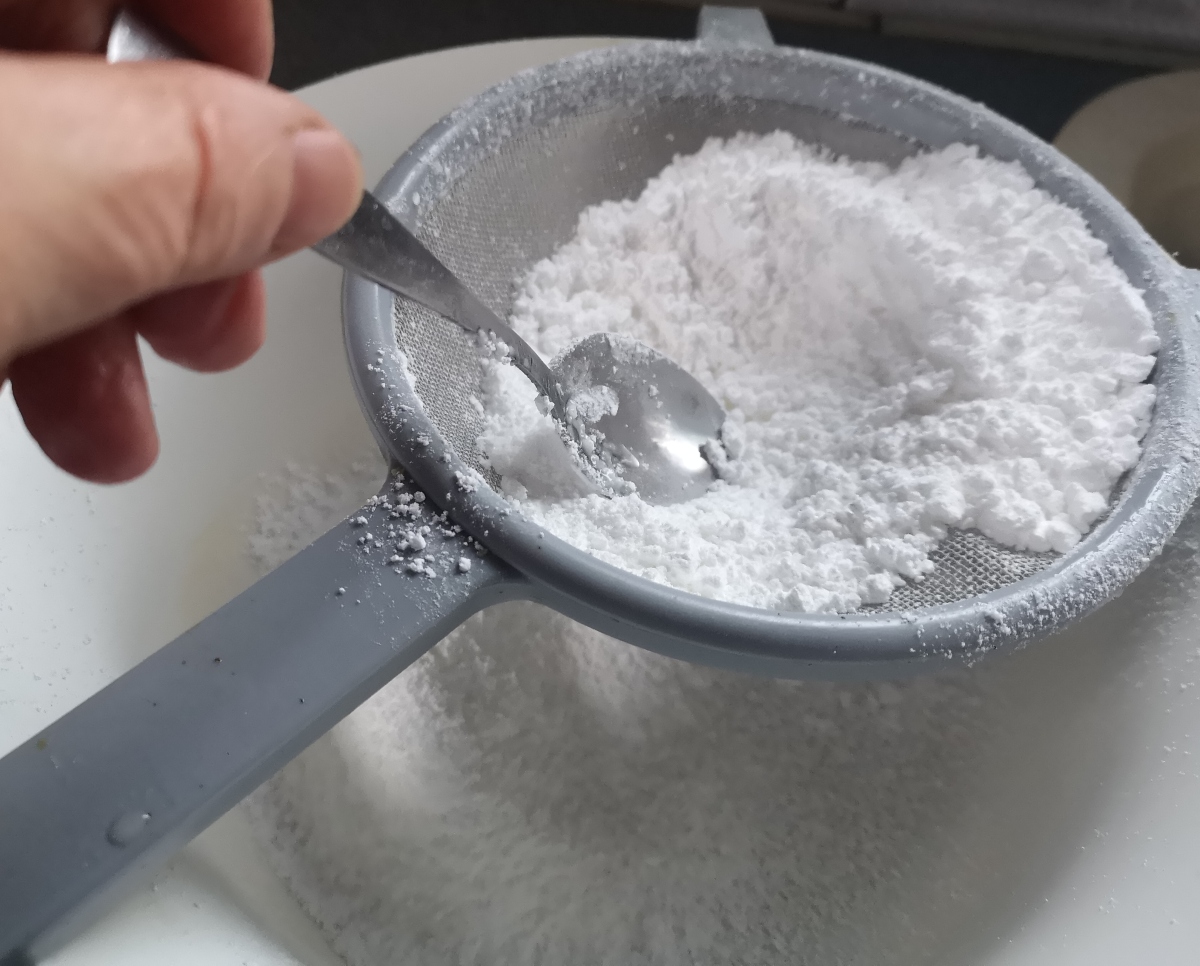
Step 1: Prepare the Icing Sugar
Sift about 600g of icing sugar into a bowl to remove any lumps. This will help give the royal icing a smoother finish.
Step 2: Add the Egg Whites and Lemon Juice
Gradually add the egg whites to the sifted icing sugar, stirring gently with a spoon as you go. Add the lemon juice a little at a time checking the consistency as you add it.
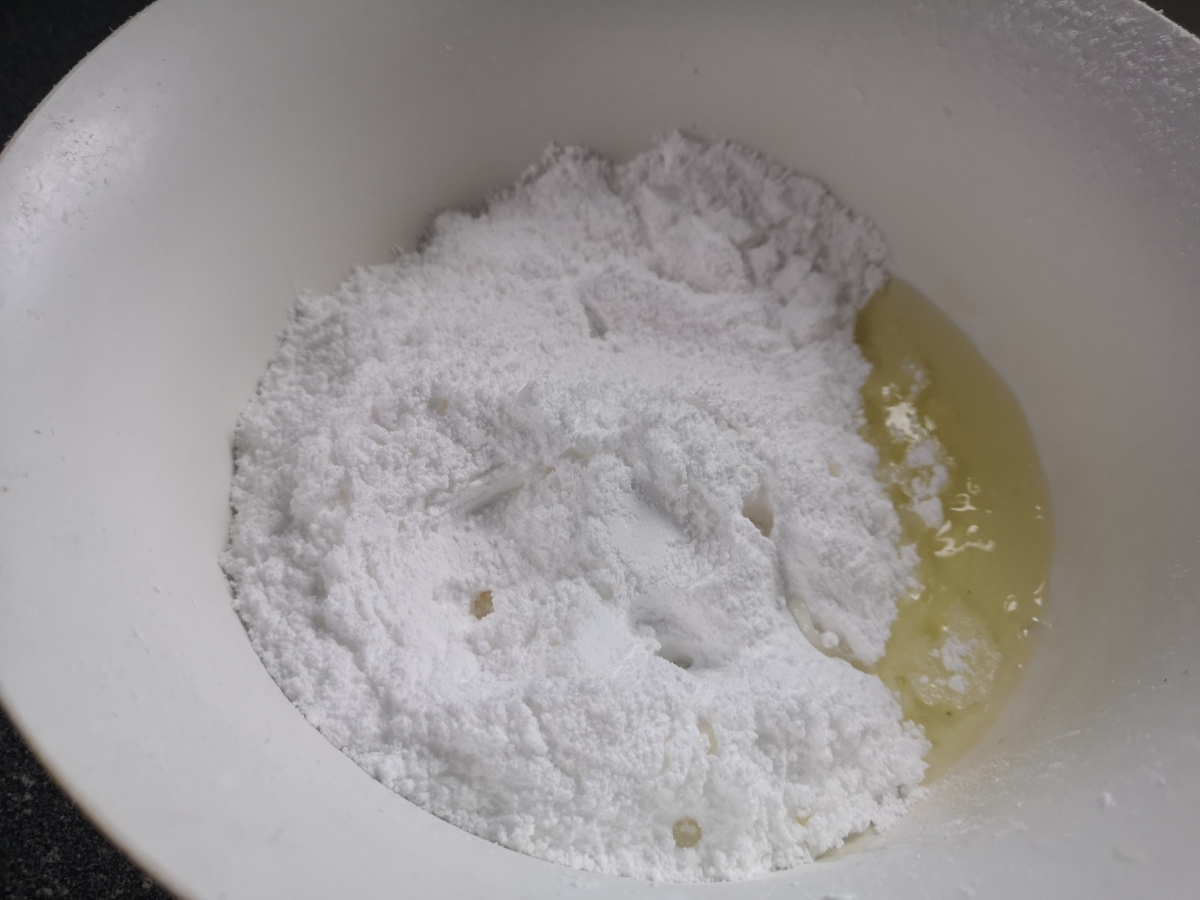
Keep stirring until the icing is smooth, thick and spreadable. It should be firm enough to hold little peaks when you lift the spoon.
You can use a whisk, but I prefer a spoon as it gives me more control over the mixture.
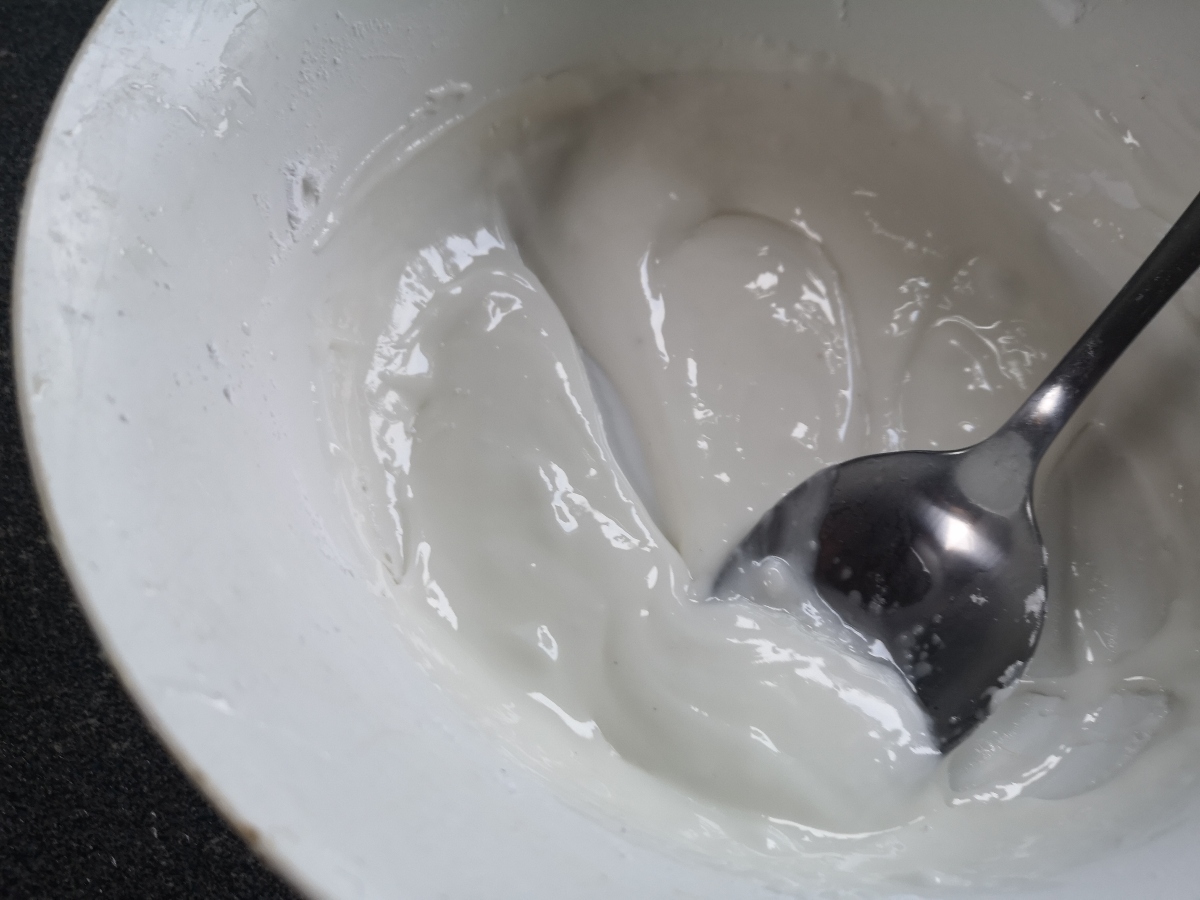
Step 3: Check the Royal Icing Consistency
The royal icing should be thick but still easy to spread over the cake. Lift a little with your spoon. It should hold its shape and form soft peaks rather than running straight back into the bowl.
If the icing is too runny, stir in a little more sifted icing sugar until it thickens.
If it’s too stiff to spread, add just a few drops of water at a time, stirring gently until you get the right consistency.
Don’t worry if it takes a little adjusting. It’s easier to add a small amount at a time than to correct icing that’s become too thin.
If your icing turns out a little runny, don’t give up on the snowy finish. Leave it to firm up slightly, then use a spoon or knife to make the peaks while the icing is still soft enough to shape. Don’t wait until it has completely set.
How to Ice the Christmas Cake
Step 1: Spread the Royal Icing Over the Cake
Spoon the royal icing onto the top of your marzipan-covered Christmas cake.
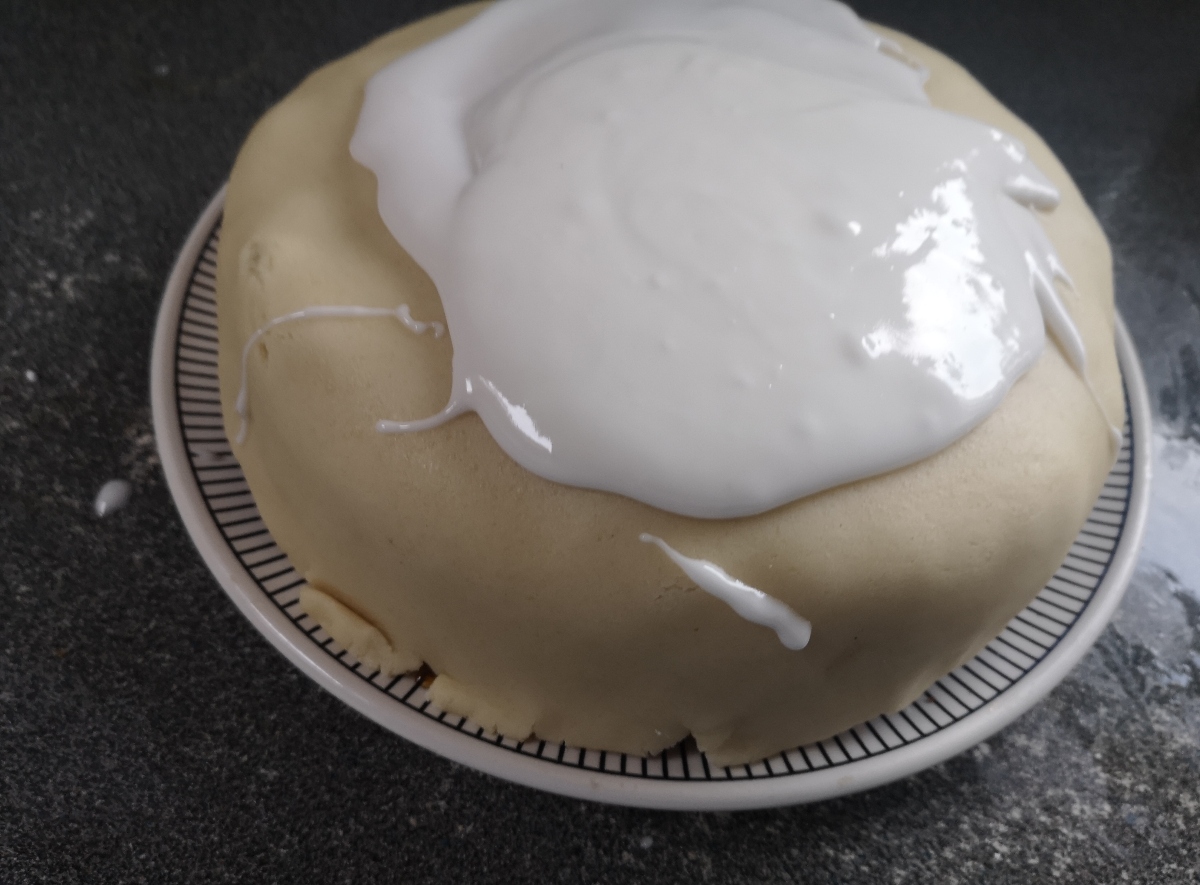
If the icing is nice and thick, use a palette knife or ordinary table knife to spread it across the top and down the sides until the marzipan is covered.
If the icing is a little runny, it may flow down the sides on its own. Use your knife to bring it back up and spread it over the cake. You can leave it to firm up slightly before tidying the finish.
You can smooth the icing if you prefer a neat finish, although getting it perfectly even takes a little practice. I like to make snowy peaks instead, which are much more forgiving of little imperfections.
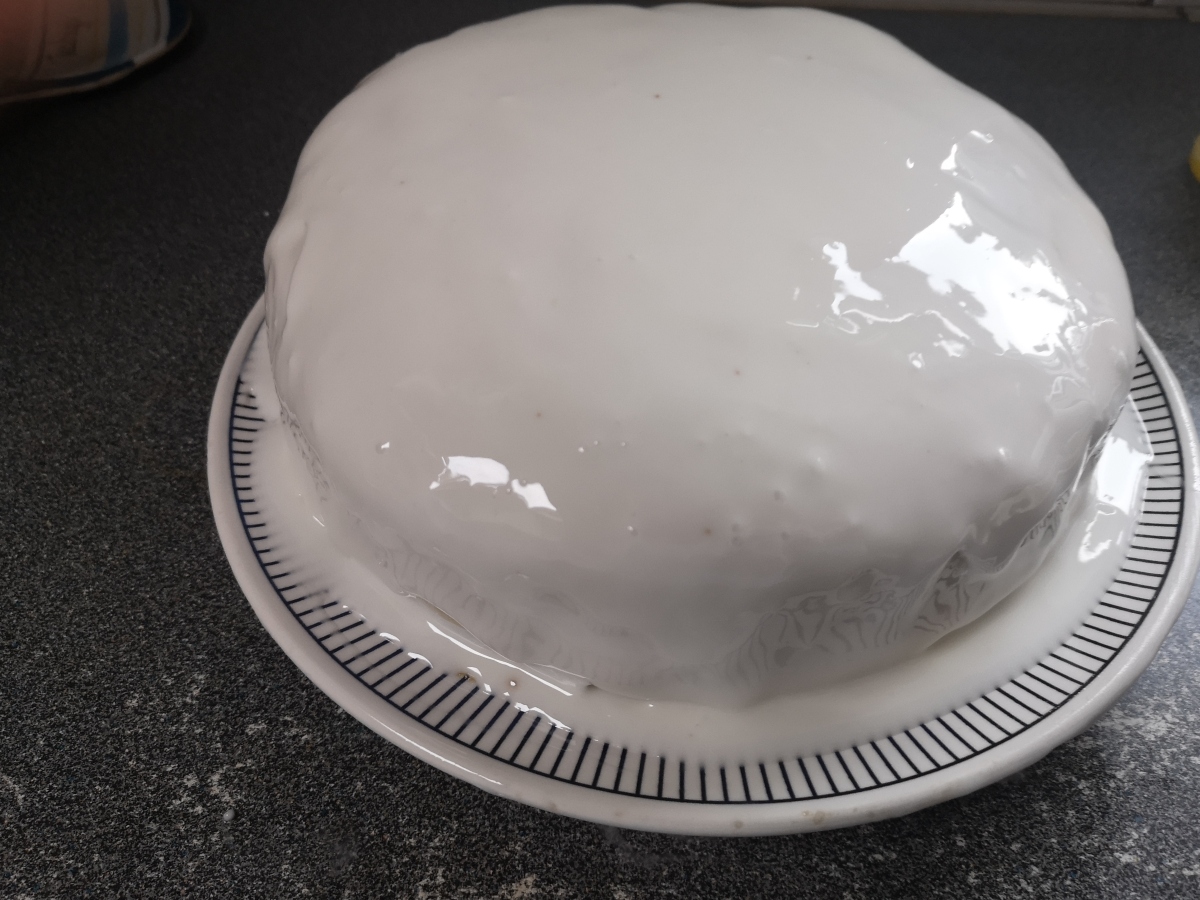
Step 2: Make the Snowy Peaks
Once the cake is covered in royal icing, use the back of a spoon or the tip of a knife to lift little peaks and ridges across the top.
If the icing is thick enough, you can do this straight away. If it’s a little runny and the peaks keep sinking back down, leave it to firm up slightly before trying again.
Work gently across the top, lifting the icing into snowy peaks. A few ridges will naturally form down the sides as you spread the icing, and that’s fine too.
You don’t need to make all the peaks the same size. Just make sure you shape them before the icing sets completely.
Decorating the Christmas Cake
This is my favourite bit.
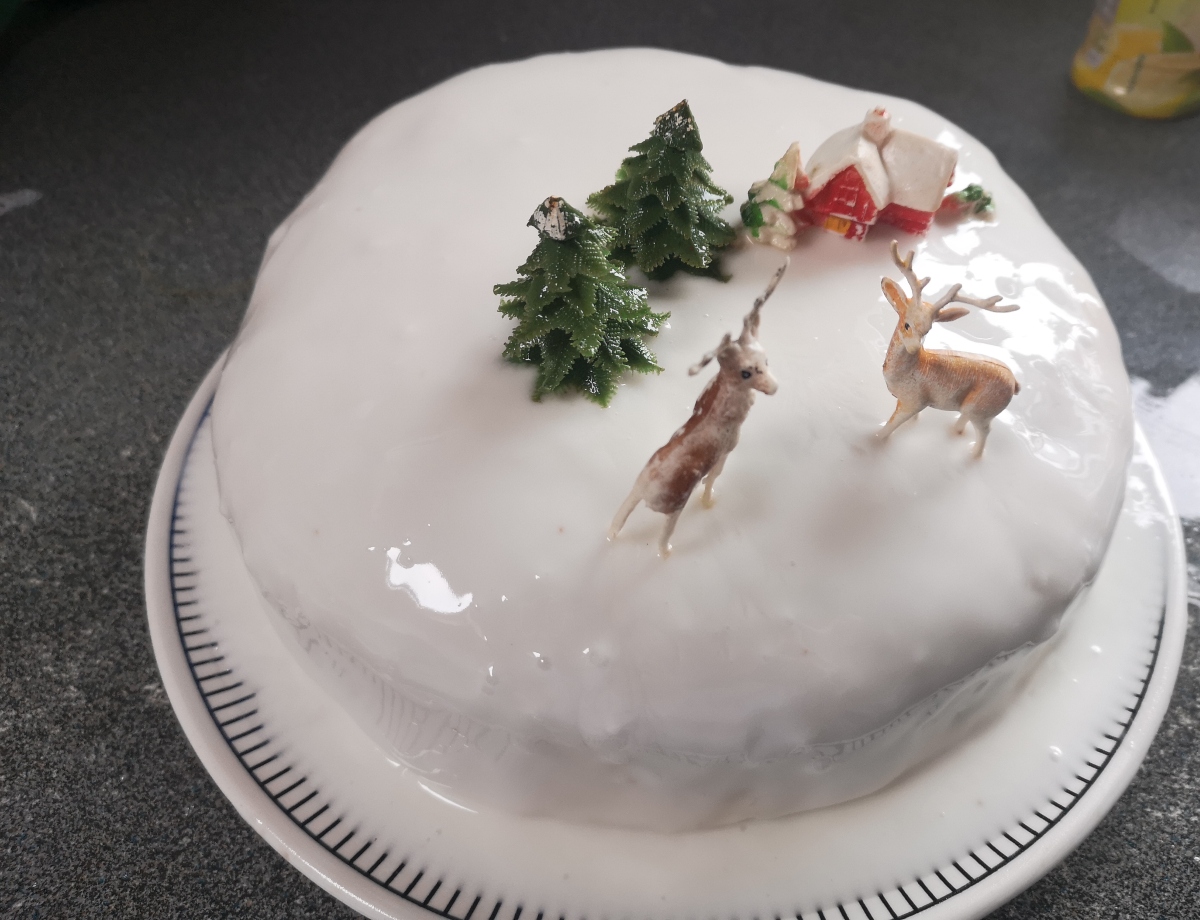
The decorations I use belonged to my mum. She used them on her Christmas cakes before passing them on to me.
There is a little fir tree, a house and a reindeer, and now they appear on my cake each Christmas.
They aren’t fashionable or coordinated and that’s rather the point. Christmas decorations gather memories as they travel through a family.
Once the icing is firm enough to hold them upright, but still soft enough to press them into, arrange the decorations on the snowy surface.
Leave the Royal Icing to Harden
Leave the decorated Christmas cake somewhere safe while the royal icing hardens.
I loosely drape cling film over mine, with the Christmas decorations holding it above the icing. This helps keep dust away and protects the cake from Bailey’s inquisitive nose!

Make sure the cling film doesn’t touch the soft icing, or it could spoil your snowy peaks. Leave the icing to harden completely before storing the cake.
Storing Your Decorated Christmas Cake
Once the royal icing has hardened, I leave the Christmas cake on its cake board under a cover until we’re ready to eat it.
You can also store it in a cake tin, as long as there’s enough room for the decorations without squashing them. If you’re using a tin, place a piece of baking parchment underneath the cake or cake board to make it easier to lift out.
I usually ice my Christmas cake quite close to Christmas, so it doesn’t have to wait very long before we cut into it.
Then the Christmas cake is finally finished and ready for Christmas.
Traditional Christmas Cake Marzipan and Royal Icing Recipe Card
Traditional Christmas Cake Marzipan and Royal Icing
Equipment
- 1 Rolling Pin
- 1 Pastry brush
- 1 Small pan
- 1 Mixing bowl
- 1 Spoon
- 1 Palette knife or table knife
- 1 Cake board or plate
Ingredients
For the marzipan
- 500 g ready to roll marzipan
- 1 tbsp apricot jam aprox
- Icing sugar for dusting, as needed
For the Icing
- 600 g Icing sugar sifted
- 3 egg whites
- 1 tsp lemon juice add as needed
Instructions
Marzipan the Christmas Cake
- Place your Christmas cake on a cake board or sturdy plate.
- Gently warm about 1 tablespoon of apricot jam in a small saucepan until it is easy to spread. Brush a thin layer over the top and sides of the cake.
- Knead the marzipan until pliable. Dust your work surface with a little icing sugar and roll the marzipan into a circle large enough to cover the top and sides of the cake.
- Carefully lift the marzipan over the cake. Smooth it over the top and down the sides, then trim away any excess.
- Ideally, leave the marzipan to dry for 24 to 48 hours before adding the royal icing. If you're short of time, you can ice the cake on the same day.
Make the Royal Icing
- Sift the icing sugar into a large mixing bowl.
- Gradually add the three egg whites, stirring gently with a spoon until they are incorporated into the icing sugar.
- Add the lemon juice a little at a time, using up to 1 teaspoon, and continue mixing until the icing is smooth.
- Check the consistency. The royal icing should be thick and spreadable, holding its shape when you lift the spoon. If it is too runny, add a little more sifted icing sugar. If it is too stiff, add a few drops of water.
Ice and Decorate the Christmas Cake
- Spoon the royal icing onto the marzipan-covered Christmas cake. Spread it across the top and down the sides using a palette knife or table knife.
- Use the back of a spoon or knife to create little peaks and swirls on top of the cake, giving it a snowy appearance.
- If the icing is too soft to hold its peaks, leave it to firm up slightly before shaping it, but don't wait until it has completely hardened.
- Once the icing is firm enough to support the decorations but still soft enough to press into, arrange your Christmas decorations on top.
- Leave the royal icing to harden completely. You can loosely drape cling film over the cake, keeping it clear of the icing and decorations.
- Once hardened, store the cake on its board under a cake cover, or in a suitably sized cake tin until Christmas.
Notes
More Christmas Cake Help
If you haven’t made your cake yet, start with my Traditional Christmas Cake recipe. It takes you through baking and feeding the cake before you reach the decorating stage.
Together, the two guides take the cake from mixing bowl to its little snowy Christmas scene.

A LITTLE HELP WITH CHRISTMAS PLANNING
Free Christmas Gift Planners
Keep track of presents, budgets and all those little Christmas details with our free printable gift planners.
A little organisation now means more time to enjoy the festive season.
You May Also Like:

Hot Water Crust Turkey and Ham Pie
A festive pie with a lovely North East heritage connection to Wallington Hall.
Get the recipe

St Stephens Pudding
A traditional pudding associated with Boxing Day, St Stephen’s Day.
Get the recipe
Pin For Later